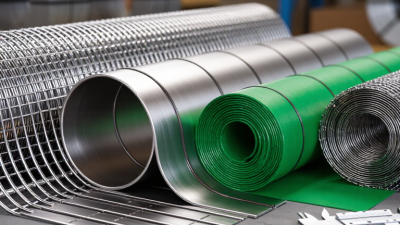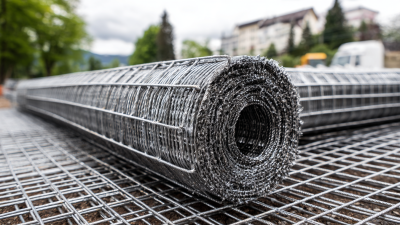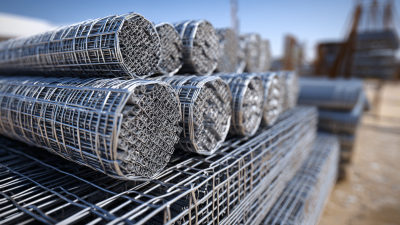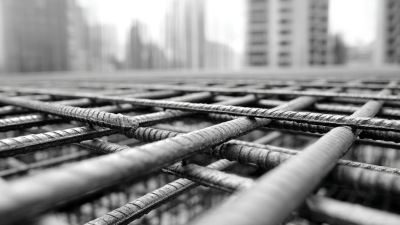
Choosing the right welded mesh begins with the job it must perform. A garden fence, a concrete slab, and a machine guard place very different demands on the same material. Before comparing prices, define the required strength, opening size, wire diameter, corrosion resistance, and installation conditions. A small mismatch can cause real trouble: oversized openings may weaken containment, while unnecessary thickness adds weight and cost.
“Let the load and environment set the specification—not habit.” This practical rule is attributed here to a welded-mesh engineering specialist, rather than presented as a verified quotation from a named person. That distinction matters: product advice should be traceable, and a quote should never imply credentials or experience that have not been confirmed.
This guide explains how to compare mesh materials, weld quality, panel dimensions, coatings, and supplier documentation. It also considers what happens after delivery: Will the panels fit through the access gate? Can they be cut and fixed with the tools on site? Will rain, soil, or chemicals affect the finish? Look closely at the details. A clean weld, consistent spacing, and a clear specification sheet often tell you more than a glossy product photo. There is no universal best choice. And some project requirements remain uncertain until the site is measured—a detail worth checking twice.
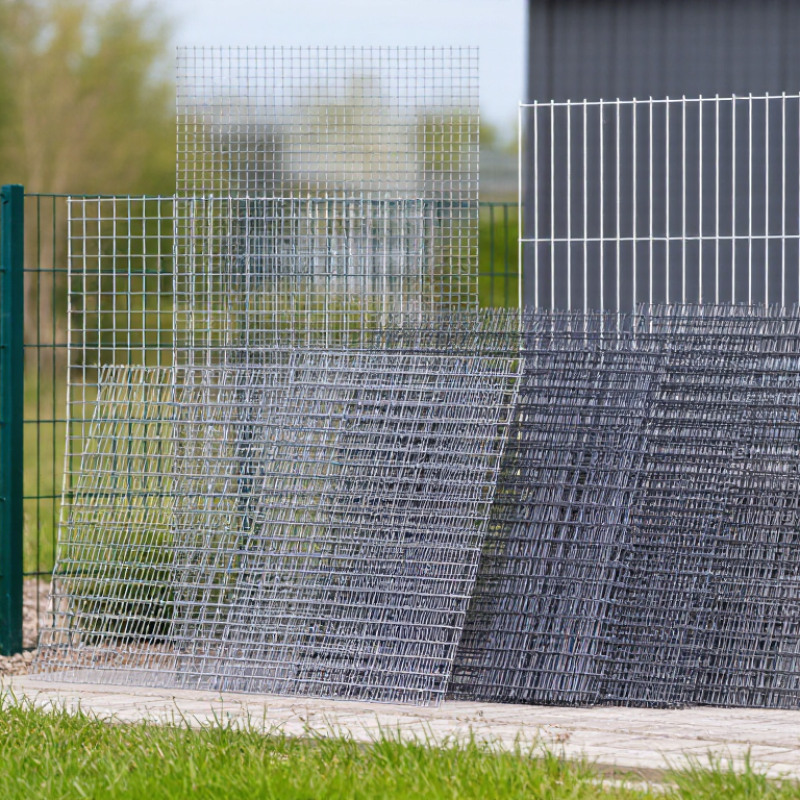
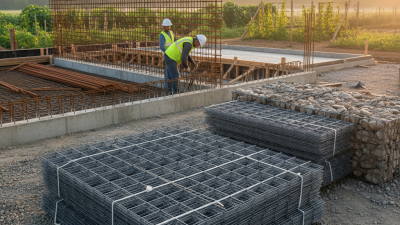
Choose welded mesh by defining what it must carry, where it will sit, and how long it must perform. Record expected loads, support spacing, concrete cover, and likely handling damage. A warehouse slab with forklift traffic has different demands from a lightly loaded garden path. Mesh spacing and wire diameter should follow the project’s structural design, not a visual guess. Details matter.
Exposure can change the choice. Note whether the mesh will face persistent moisture, de-icing salts, coastal air, or chemicals.
AMPP’s 2016 IMPACT study estimated global corrosion costs at US$2.5 trillion annually, or about 3.4% of global GDP. This is a broad industry estimate, not a welded-mesh-specific cost. Still, it shows why corrosion protection deserves early attention.
Match material and coating to the actual exposure, and check that cutting or welding on site will not compromise protection. A tidy drawing can miss those small damaged spots.
Set a required service life and compare it with realistic inspection and maintenance access. A concealed slab mesh may be difficult to repair, while an accessible fence panel can be replaced more easily. Ask the engineer to confirm load assumptions, cover, and applicable material specifications. Be honest about uncertainty: site drainage and construction quality may differ from the plan. Those details can matter as much as the mesh selection itself.
A 25 mm aperture is useful when small objects must stay contained or the panel needs closer spacing. It can suit compact storage bays, machine guards, and garden enclosures where small animals might push through. More wires cross each square metre, so the panel may feel heavier and allow less airflow. Small openings feel solid. Check the clear opening, not just the panel’s outside dimensions; wire diameter changes the actual gap.
A 50 mm opening is a practical middle ground for many partitions and general enclosures. It offers a clear view through the mesh while restricting larger objects better than 100 mm openings. For example, a workshop divider may benefit from this balance of visibility and separation. Still, aperture alone does not determine strength. Wire diameter, weld quality, frame support, and fixing points matter too.
A 100 mm opening lets more light and air through, and it can make a large enclosure easier to see into. It is less suitable when small items, tools, or animals need to be kept inside. Measure twice. Compare the mesh opening with the smallest object that must be retained, then consider how the panel will be supported. The right choice is sometimes a compromise; a sample panel can reveal details that a drawing misses.
Choosing welded mesh for a load begins with the wire diameter and the distance between wires, or pitch. Thicker wires generally resist bending better, while tighter pitch helps distribute a load across more wires. Both matter. A 6 mm wire at 50 mm pitch will behave differently from the same wire at 100 mm pitch, especially when a panel spans a wide opening.
Start with the actual load: its weight, where it rests, and whether it moves or strikes the mesh. A concentrated load from a machine foot is not the same as evenly spread storage boxes. Check the support spacing, too. Mesh fixed only at its edges may deflect more than a panel supported along several sides. Weld quality and steel grade also affect performance, so request verified product data rather than judging strength by appearance alone.
Measure the opening and note the load direction before comparing specifications. Then check allowable load and deflection for the complete panel, including its supports and fixings. More steel is not automatically the right answer. It can add weight and cost. If the application is safety-critical, have a qualified engineer verify the selection and required safety margin. A small prototype can reveal unexpected flex, but it cannot replace a proper load assessment.
Choosing welded mesh starts with its intended structural role, but wire strength deserves equal attention. ASTM A1064/A1064M sets a minimum yield strength of 485 MPa (70 ksi) for deformed wire. This is a baseline, not a complete design decision. Check the applicable standard edition and project drawings, since specifications may include additional requirements.
When reviewing a mesh order, confirm that it uses deformed wire and request mill test documentation showing yield strength, wire size, and the applicable standard. Compare the spacing, sheet dimensions, lap lengths, and concrete cover with the reinforcement schedule. High yield strength cannot correct incorrect spacing or poor placement. Small details matter. Consider how sheets will be handled on site; bent edges, damaged welds, or awkward overlaps can complicate installation. Documentation can be difficult to interpret, so ask the engineer to clarify any mismatch before installation. A certificate alone does not prove suitability for every load or exposure. The project engineer should confirm compatibility, especially where seismic, fatigue, or unusual loading applies. Something may still be overlooked. Check the installed mesh, too.
Check ASTM A1064/A1064M: 485 MPa Minimum Yield Strength for Deformed Wire
ASTM A1064/A1064M specifies a minimum yield strength of 485 MPa for deformed wire (approximately 70.3 ksi). Use this value as a material-selection reference, and verify the applicable standard edition and project specifications before choosing welded mesh.
Choosing welded mesh starts with the environment it will face. For outdoor use, a galvanized or coated finish can help resist moisture and corrosion; indoors, an untreated finish may be suitable where conditions stay dry. Match the coating to nearby materials and expected exposure. A finish that looks sound can still hide damage. Inspect cut edges and corners for bare steel, peeling, or uneven coverage. Check the product specification, too, rather than relying on appearance alone.
Weld quality affects both stability and safe handling. Look for consistent joints where the wires cross, with no obvious gaps, cracks, or loose intersections. Run a gloved hand along the panel edge. Snags matter. Measure the actual panel height and width, then compare them with the opening, frame, and planned clearance. Account for posts, brackets, and any uneven ground. Measure twice. I’ve seen a small mismatch turn into awkward cutting on site, and that is not always avoidable. Confirm wire spacing and thickness suit the intended load and prevent unwanted gaps. Before ordering, sketch the installation and note where panels meet corners or gates. A neat fit on paper is useful, but site conditions can still surprise you.
Contact Us