How to Choose the Best Compound Wall Lights in 2026?
In 2026, choosing Compound Wall Lights means balancing appearance with dependable outdoor performance. A fixture may look striking in a product photo but feel harsh beside a narrow gate. Start by considering where the light will sit, what it needs to illuminate, and how exposed it is to rain, dust, and coastal air. A covered entrance and an open boundary wall may need very different fittings. Small details matter.
Brightness is not the only measure. Check the fixture’s light output, beam direction, colour temperature, and weather-resistance rating against the space and local conditions. Warm, downward-directed light can make a path easier to follow without shining directly into a neighbour’s windows. Materials and finishes also deserve a close look; low-quality coatings can fade or peel sooner than expected. And style can mislead. A larger fitting is not automatically the better choice.
This guide explains how to compare designs, materials, lighting performance, and installation requirements before you buy. It also considers practical questions, such as whether the light needs a compatible switch, sensor, or suitable wiring. Follow the manufacturer’s specifications, and ask a qualified installer when electrical work is involved. One point can be easy to miss: the best option depends on the wall, the climate, and the way people use the space. There is no universal winner. Use the recommendations as a starting point, then check how each fixture will perform on your property.
Understanding Compound Wall Lights and Their Common Uses
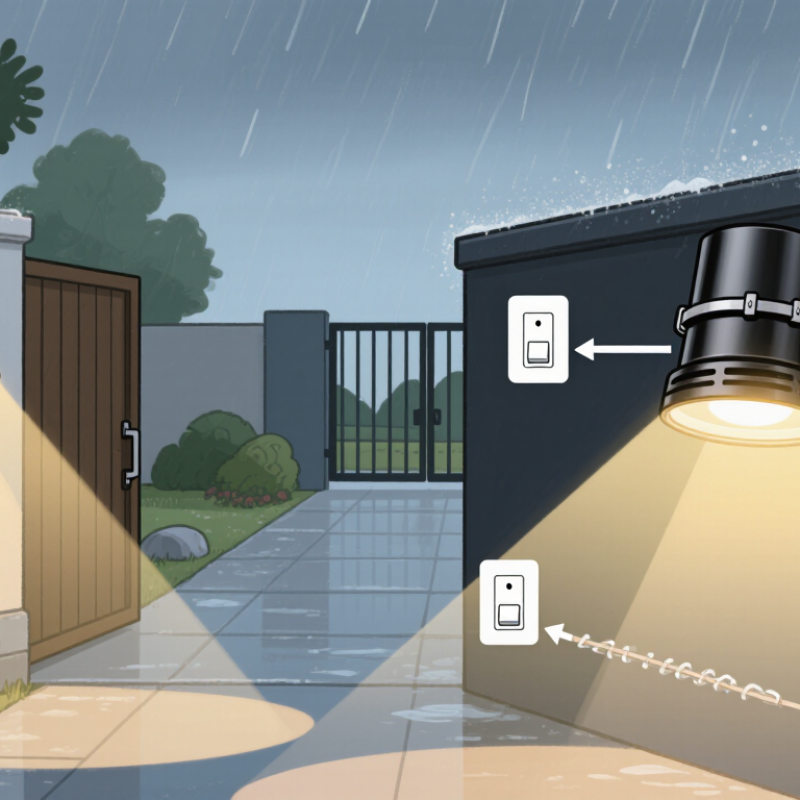
Compound wall lights are outdoor fixtures mounted on boundary walls, gate pillars, and entrance columns. They help residents see paths, steps, locks, and house numbers after dark. Along a driveway, evenly spaced lights can mark the route without flooding nearby windows. At gates, a downward-facing beam can illuminate keys and visitors’ faces more comfortably than a bare bulb.
The U.S. Department of Energy’s Energy Saver guidance says LEDs use at least 75% less energy than incandescent lamps. It also reports that LEDs can last up to 25 times longer. These comparisons offer a useful baseline, not a promise about every fixture; weather exposure, heat, and driver quality affect real-world performance. Keep it modest.
For a compound, consider wall height, spacing, beam direction, and local weather exposure before choosing a fitting. A suitable outdoor ingress-protection rating helps guard against dust and water, while shielding reduces glare into homes and neighboring properties. Motion sensors can suit rarely used side paths, but may trigger too often near moving branches or passing traffic. One easy mistake is treating brighter as safer. Wall lights improve visibility, but they do not replace thoughtful placement or clear sightlines.
Choosing Compound Wall Lights: Typical Color Temperatures by Use
Warm white is commonly chosen for welcoming entrances, patios, and paths, while cooler white can suit security and utility areas. These ranges are practical guidance, not fixed standards; check the light’s color temperature and local requirements before choosing.
Assessing Your Wall, Climate, and Lighting Requirements
Before comparing finishes, inspect the wall. Solid brick, poured concrete, and hollow block need different anchors. Check for loose mortar, hairline cracks, and the condition of the existing cable entry. A heavy fixture mounted into crumbling mortar can shift over time. Small details matter. For exposed locations, check the fixture’s IP rating under IEC 60529 and confirm that its seals and mounting hardware suit rain, dust, and damp conditions.
Climate changes the choice. Coastal air can corrode unsuitable metals, while repeated freezing and thawing can stress seals and wall surfaces. Look for materials and finishes rated for the site, and avoid directing water toward the cable entry. I would not assume a high IP rating solves every problem; installation quality and wall condition matter too. Even a careful checklist can miss a weak patch of mortar.
Then define the lighting task: safe steps, a visible entry, or gentle ambient light. The Illuminating Engineering Society’s exterior-lighting guidance emphasizes matching light to visual needs and limiting unwanted spill. Compare lumen output, beam spread, and color temperature, not wattage alone. The U.S. Department of Energy’s Energy Saver guidance reports that LEDs use at least 75% less energy and last up to 25 times longer than incandescent lighting; those figures are comparisons, not a guarantee for every fixture. Test a warm, shielded beam against the wall at night before committing.
Comparing Fixture Designs, Materials, and Weather Protection
On a compound wall, fixture design affects both appearance and practical visibility. Downward-facing lights can illuminate a path without shining directly into nearby windows. Up-and-down fixtures create a stronger decorative effect, but may produce glare on a pale wall. Check the beam direction at night if possible. Looks matter, but so does comfort.
Material choice should reflect the wall’s location and local conditions. Powder-coated aluminum is relatively light and can resist corrosion when its finish stays intact. Stainless steel may suit exposed areas, though its grade matters near salty air. Inspect joints, screws, and coating edges; small weaknesses can become rust spots. I still find it easy to focus on the housing and overlook the fasteners.
Weather protection is more than a single rating. Compare the fixture’s ingress protection rating with its exposure to rain, dust, and spray, and follow the installation guidance. Covered locations face different risks from walls exposed to driving rain. Look for sealed cable entries, durable gaskets, and a design that does not trap water. Even a well-rated fitting can fail if mounted poorly, so allow for drainage and check seals during maintenance.
Checking Installation, Safety Standards, Maintenance, and Cost
Choosing compound wall lights in 2026 starts with the wall, wiring, and weather—not the finish. Measure the mounting surface and check where cables enter; water often finds the smallest gap. Match the fitting’s IP rating to its exposure. IEC 60529 defines these ingress-protection ratings, but the right level depends on the location and local requirements. A qualified electrician should verify wiring, earthing, and applicable electrical codes before installation. Small detail. Loose fixings can become a real problem on a windy boundary wall.
Safety and upkeep matter after the light is switched on. Check seals, screws, and signs of corrosion at least once a year, especially after heavy rain. Keep light away from bedroom windows and avoid aiming it directly into a neighbour’s yard. For cost comparisons, look beyond the purchase price: include installation, energy use, replacement access, and likely maintenance. The U.S. Department of Energy reports that LEDs use at least 75% less energy and last up to 25 times longer than incandescent lighting. That comparison is useful, though actual savings depend on use and electricity rates. I would still check the fixture’s stated service life and warranty; optimistic packaging is not a maintenance plan.